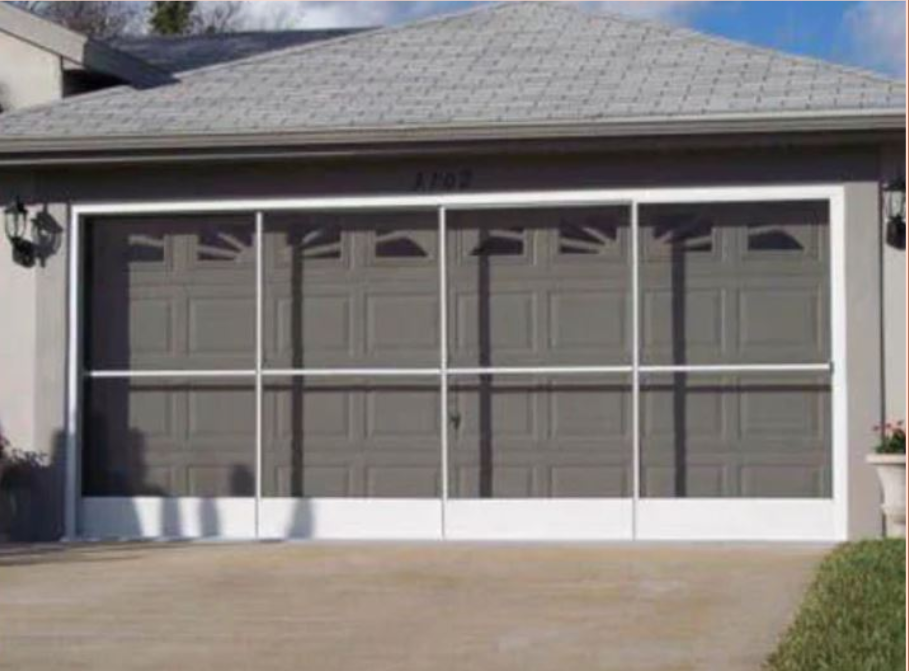
A DIY screen room is a cost-effective way to extend your living space and enjoy the outdoors without dealing with pesky insects, harsh sunlight, or unpredictable weather. Whether you want a quiet space to relax, a place to entertain guests, or simply an area to enjoy your garden, a screen room can provide a versatile and enjoyable environment. This guide will walk you through the key steps of building a DIY screen room, the materials you’ll need, and tips to ensure your project is a success.
Benefits of a DIY Screen Room
Before diving into the construction details, let’s explore why a DIY screen room is a valuable addition to any home:
Increased Living Space: Screen rooms offer an additional outdoor living area that’s comfortable and usable during most seasons. They provide an ideal space for dining, lounging, or even working remotely, all while staying connected to nature.
Protection from Insects: One of the primary benefits of a screen room is the protection it offers from bugs like mosquitoes, flies, and other pests. You can enjoy the fresh air without being interrupted by insects.
Enhanced Home Value: A well-built screen room can enhance the aesthetic appeal of your home, increasing its resale value. A functional outdoor space is a desirable feature for potential buyers.
Customization: Building your screen room allows for customization to fit your exact needs and preferences. Whether you want a small, cozy space or a large area for entertaining, you can design the room to suit your vision.
Cost Savings: Doing it yourself significantly reduces the labor costs associated with hiring professionals, making it a budget-friendly home improvement project.
Types of DIY Screen Rooms
There are several types of screen rooms to consider based on your home’s structure, budget, and intended use:
Screened-in Porch: If you already have a porch or deck, turning it into a screen room can be as simple as adding screens to the existing structure. This is a popular option because it utilizes your current outdoor space.
Standalone Screen Room: A freestanding screen room is a great option if you don’t have an existing porch or deck. These structures can be built in your backyard or patio area and can be designed to your specifications.
Gazebo-Style Screen Room: A gazebo screen room provides a more decorative and unique design. Typically octagonal or circular, these rooms are perfect for a garden or a center point in your yard.
Planning Your DIY Screen Room Project
Careful planning is crucial before starting your DIY screen room project. Consider the following factors:
Location: Choose a location that offers easy access to your home and blends well with the landscape. If you’re screening in an existing porch or deck, the location is already set. For a standalone structure, ensure the site is level and away from potential hazards like tree roots or water runoff.
Design: Sketch out your design before purchasing materials. Consider the size, shape, roof style, and any additional features like doors, windows, or electrical wiring. Your design should be functional and match the overall aesthetic of your home.
Budget: DIY screen rooms can range in cost depending on the materials used, size, and any extra features you may want to include, such as ceiling fans or lighting.
Building Permits: Check with your local municipality to see if you need a building permit for your screen room.
Materials Needed for a DIY Screen Room
The materials you’ll need depend on the type of screen room you’re building, but here’s a general list:
Pressure-Treated Lumber: This will form the basic frame of your screen room. Pressure-treated wood is resistant to rot and insects, making it ideal for outdoor structures.
Aluminum or Vinyl Screening: The screen material itself can be aluminum or vinyl mesh. Aluminum screens are durable and resistant to rust, while vinyl screens are more affordable and easier to install.
Screen Frame Kits: These pre-made kits can save you time by providing all the parts necessary for framing and installing your screen panels.
Fasteners: Nails, screws, and other fasteners will be required to assemble the structure and secure the screens.
Roofing Material: If your screen room includes a roof, you’ll need roofing materials such as shingles, metal, or polycarbonate panels.
Step-by-Step Guide to Building a DIY Screen Room
Step 1: Prepare the Site
Clear the area where you plan to build your screen room. If you’re working with an existing deck or porch, ensure the structure is sound. If you’re building a freestanding structure, level the ground and set concrete footings for the foundation.
Step 2: Build the Frame
Using pressure-treated lumber, construct the frame for your screen room. This will include the posts, headers, and crossbeams that support the walls and roof.
Step 3: Add the Roof
If your screen room includes a roof, now is the time to install it. Depending on your design, you may use shingles, metal panels, or polycarbonate sheets.
Step 4: Install the Screens
Once the frame and roof are in place, it’s time to add the screens. Using a screen frame kit or creating your frames from wood or metal, stretch the screen material across each opening. Secure it tightly to prevent sagging or tearing.
Step 5: Install the Door
Install a screen door in the location that works best for your screen room design. Make sure it opens and closes smoothly and consider adding a latch or magnetic closure for ease of use.
Conclusion
Building a DIY screen room is an excellent way to enhance your outdoor living space while adding value to your home. With proper planning, the right materials, and attention to detail, you can create a beautiful and functional screen room that suits your lifestyle. Whether it’s for entertaining guests, enjoying peaceful mornings, or spending quality time with family, a screen room is a worthwhile investment that can be enjoyed year-round


