
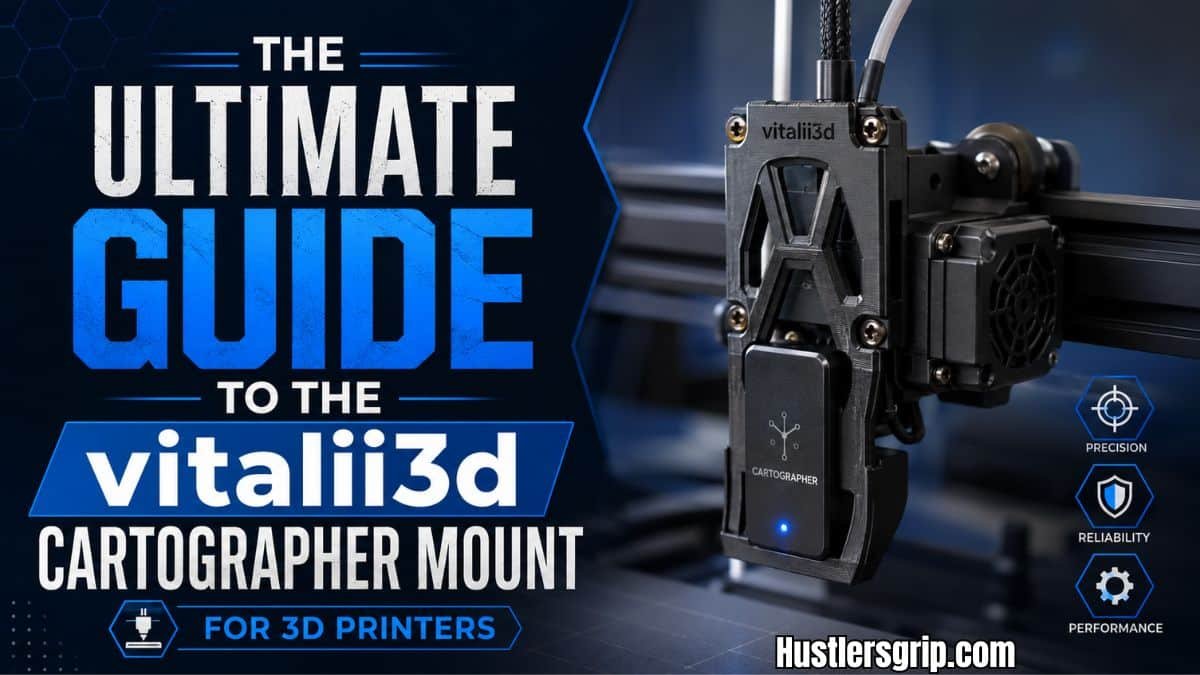
The Ultimate Guide to the vitalii3d cartographer mount for 3D Printers
Introduction
Are you tired of inconsistent first layers on your Voron or other high-speed 3D printer? Do you struggle with bed mesh readings that seem to change for no reason? If you are nodding your head, you are not alone. Many 3D printing enthusiasts face these exact problems every day.
That is where the vitalii3d cartographer mount comes in. This precision-engineered aluminum bracket is designed to hold your Cartographer probe securely and accurately. It replaces flimsy plastic mounts that can flex and bend, giving you the stable foundation your probe needs to do its job right.
What Is the vitalii3d cartographer mount?
The vitalii3d cartographer mount is a CNC-machined aluminum bracket that attaches a Cartographer probe to the toolhead of a 3D printer. It is made from 6061 aluminum and is designed specifically for printers using Dragonburner or Rapidburner toolheads, especially Voron 2.4 and Trident models.
Key features at a glance:
- Made from lightweight 6061 aluminum
- CNC-machined for precision fit
- Compatible with 6mm and 9mm belts
- Works with MGN12 carriages
- Supports Voron 2.4, Trident, and other Voron-based printers
Why You Need a Quality Probe Mount
The Problem with Plastic Mounts
Most 3D printers come with plastic probe mounts. These are cheap to make, but they have a big problem. Plastic flexes. When your printer moves fast, the plastic mount can bend slightly. Even a tiny movement of 0.1mm can throw off your probe readings completely.
Think about it this way. Your Cartographer probe is trying to measure your bed surface within fractions of a millimeter. If the mount holding it moves even a little, your measurements will be wrong. This leads to bad first layers, failed prints, and lots of frustration.
How a Rigid Mount Solves These Issues
A rigid mount like the vitalii3d cartographer mount eliminates this problem. Made from solid aluminum, it does not flex or bend. Your probe stays exactly where it should be, giving you accurate readings every time.
One user described their experience: “This mount came in and you can feel the quality and attention to detail in the process. 100% a quality product and incredibly rigid”. Another reviewer called it “the final piece I needed… to stop chasing unicorns and finally get the perfect shaper graphs”.
What Happens When Your Probe Mount Is Not Stable
When your probe mount is not stable, several problems can occur:
- Inconsistent bed mesh readings – Your printer thinks the bed is warped when it is not
- Failed QGL (Quad Gantry Leveling) – The printer cannot level the gantry properly
- Poor first layers – The nozzle is too high in some spots and too low in others
- Wasted filament and time – Failed prints mean starting over again and again
Key Features of the vitalii3d cartographer mount
CNC-Machined 6061 Aluminum Construction
The vitalii3d cartographer mount is machined from 6061 aluminum. This is the same material used in aerospace and automotive parts. It is strong, lightweight, and resists corrosion. The CNC machining process ensures every mount is precisely the same, with tight tolerances that plastic printing cannot match.
Lightweight Design
Weight matters on a 3D printer toolhead. Every gram adds to the moving mass, which affects print quality at high speeds. The vitalii3d cartographer mount is designed to be as light as possible while still being strong. This helps your printer maintain high speeds without sacrificing print quality.
Anodized Finish
The mount comes with an anodized finish. This does two things. First, it makes the surface non-conductive, which protects against electrical shorts. Second, it resists scratches and wear, keeping your mount looking good and working well for years.
Easy Installation
Vitalii3D includes all the hardware you need. The kit comes with:
Printable Add-Ons Available
Beyond the mount itself, Vitalii3D offers printable add-ons including:
Compatibility: Which Printers Work with this Mount?
The vitalii3d cartographer mount is designed to work with several popular 3D printer models and configurations.
Supported Toolheads
- Dragonburner – A popular toolhead design for Voron printers
- Rapidburner – Another high-performance toolhead option
- A4T and XOL toolheads – Specialized mounts are available for these designs
Supported Printers
- Voron 2.4 – One of the most popular Voron models
- Voron Trident – Another widely used Voron printer
- Other Voron-based printers – Any printer using 4mm belt spacing
Belt Compatibility
The mount works with both:
Carriage Compatibility
The mount is designed for MGN12 carriages, which are standard on most Voron printers.
Installation Guide
Installing the vitalii3d cartographer mount is straightforward. Here is a step-by-step guide.
What You Will Need
- The vitalii3d cartographer mount kit
- Your Cartographer probe
- Basic hex keys (Allen wrenches)
- Optional: M3 heat-set inserts for plastic parts
Step 1: Prepare Your Printer
Make sure your printer is turned off and cooled down. Remove the old probe mount from your toolhead. Clean the area where the new mount will go.
Step 2: Attach the Mount to the Carriage
Position the vitalii3d cartographer mount on your toolhead carriage. Use the provided M3x8mm bolts to secure it. Do not tighten fully yet – you may need to adjust the position.
Step 3: Install the Cartographer Probe
Attach your Cartographer probe to the mount using the M3 screws that came with your probe. The hole spacing for the Cartographer probe is 31.6mm. Make sure the probe is securely fastened.
Step 4: Set the Correct Height
The probe should be 2.6mm to 3.0mm above the nozzle tip. Most users find 2.8mm works well. The vitalii3d cartographer mount is designed to put the probe at the correct height, but you may need to use spacers if you have a non-standard hotend.
One user noted: “I had to use the 7.5mm spacers to place my Carto V4 at 2.8mm offset from nozzle”.
Step 5: Tighten All Screws
Once everything is positioned correctly, tighten all screws. Make sure the mount is secure and does not wobble.
Step 6: Configure Your Printer
Update your printer configuration with the correct X and Y offsets for the probe. The probe can be installed in any orientation, but you must set the X and Y offset in the config relative to the probe’s location to the nozzle.
Step 7: Test Your Setup
Run a bed mesh or QGL to test your new setup. You should see more consistent results than with your old plastic mount.
Common Mistakes to Avoid
Mistake 1: Not Using Heat-Set Inserts
Some versions of the mount use M3 heat-set inserts. If you skip these and screw directly into plastic, the screws can strip over time. Use the inserts for a more secure connection.
Mistake 2: Incorrect Probe Height
If your probe is too high or too low, your bed mesh readings will be wrong. Make sure the probe is 2.6mm to 3.0mm above the nozzle.
Mistake 3: Overtightening Screws
Aluminum is strong, but you can still strip threads if you overtighten. Tighten screws firmly but do not force them.
Mistake 4: Ignoring Cable Management
The cable connecting your probe can push or pull on the probe if not managed properly. One user found that “the Beacon USB cable was pushing/pulling on the Beacon board. Even the slightest movement here has a huge effect on measurements”. The improved version of the mount includes cable management cutouts to help with this.
Mistake 5: Using the Wrong Mount for Your Toolhead
Make sure you have the correct mount for your specific toolhead. The Dragonburner mount is different from the A4T/XOL mount.
Troubleshooting Tips
Problem: Inconsistent QGL Results
If your Quad Gantry Leveling is taking many passes or failing, check that your probe is securely mounted. Even a tiny movement can cause issues. Make sure all screws are tight and the mount is not flexing.
Problem: Probe Hitting the Bed
If your probe is hitting the bed before the nozzle does, your probe is too low. Raise the probe so it is 2.6mm to 3.0mm above the nozzle.
Problem: Probe Not Triggering
Check that there is no metal directly above the Cartographer coil. This called the “keep out zone”. Metal in this area can interfere with the probe’s operation.
Problem: Mount Interfering with Other Parts
On some printers, the recommended mount can cause the Cartographer to hit other parts. One Trident user found that “the Vitalii3D recommended mount makes the carto too far back and can hit the middle rear leadscrew”. If this happens, you may need to use a different mount or add spacers.
Problem: Cable Management Issues
Use the cable management cutouts on the mount to route your cables cleanly. This prevents cables from pulling on the probe during printing.
Pros and Cons
Pros
| Advantage | Details |
|---|---|
| Extreme rigidity | CNC-machined aluminum does not flex like plastic |
| Lightweight | Adds minimal weight to your toolhead |
| Precision fit | Tight tolerances ensure accurate probe positioning |
| Durable | Will not warp or degrade over time |
| Easy installation | Comes with all hardware needed |
| Professional finish | Anodized surface looks great and resists wear |
| Community support | Many users share tips and modifications |
Cons
| Disadvantage | Details |
|---|---|
| Higher cost | More expensive than printed plastic mounts |
| Metal conducts heat | Can get hot in high-temperature chambers |
| May require spacers | Some setups need additional spacers for proper fit |
| Limited availability | May not be available from all retailers |
Related Articles
- VEEV VPN: The Ultimate Guide to Secure Browsing
- AMZP22X: Everything You Need to Know
- R/TikTokCringe: Exploring the Viral Subreddit
- Jewu Park: A Complete Travel Guide
Conclusion
The vitalii3d cartographer mount is a smart investment for anyone serious about 3D printing quality. It replaces weak plastic mounts with a rigid, precision-machined aluminum bracket that keeps your Cartographer probe perfectly stable. This means more accurate bed mesh readings, better first layers, and fewer failed prints.
Whether you are building a new Voron or upgrading an existing printer, this mount delivers real, noticeable improvements. Users consistently praise its quality, rigidity, and ease of installation. As one reviewer put it, “Don’t hesitate, just buy”.
Ready to stop chasing inconsistent prints and start getting perfect results every time? Check out the vitalii3d cartographer mount from authorized retailers like West3D or OneTwo3D. Your printer – and your sanity – will thank you.
Frequently Asked Questions
1. What is the vitalii3d cartographer mount made of?
The vitalii3d cartographer mount is made from 6061 aluminum. It is CNC-machined for precision and anodized for protection.
2. Which printers are compatible with the vitalii3d cartographer mount?
The mount is compatible with Voron 2.4, Voron Trident, and other Voron-based printers. It works with Dragonburner and Rapidburner toolheads, as well as A4T and XOL toolheads with the appropriate version.
3. How do I install the vitalii3d cartographer mount?
Installation involves removing your old mount, attaching the new mount to your carriage with M3 bolts, securing your Cartographer probe, and updating your printer configuration with the correct offsets.
4. What is the correct probe height for the Cartographer?
The Cartographer probe should be 2.6mm to 3.0mm above the nozzle tip.
5. Why is my Cartographer probe giving inconsistent readings?
Inconsistent readings are often caused by a loose or flexing mount. The vitalii3d cartographer mount solves this with its rigid aluminum construction.
6. Does the mount come with hardware?
Yes, the kit includes all necessary bolts and belt retainers.
7. Can I use this mount with a Beacon probe?
Yes, the mount is designed to work with both Beacon and Cartographer probes.
8. What material should I print the add-on parts with?
Vitalii3D recommends printing add-on parts with ABS, ASA, or better. PC-CF is also a good option. Avoid PLA as it can warp in high-temperature environments.

Related Posts

Droven.io DevOps Tutorials : Your Complete Beginner Guide to Master DevOps in 2026

Olitt Plumber AI Builder: The Ultimate Guide to Building Your Plumbing Website in Minutes
